


Why would I need a coil building guide? Is that your first question? The answer is really simple! If you absolutely enjoy vaping, learning how to make vape coils can enhance your experience to a whole new level. Taking the time to learn lets you customize cloud-chasing so you can get the most out of it. The next important reason? You’ll likely make substantial savings by building wire loops in place of buying new equipment each time the old one wears out. Ready to get started?
Let’s Take This From the Top! What Exactly Are Coils?
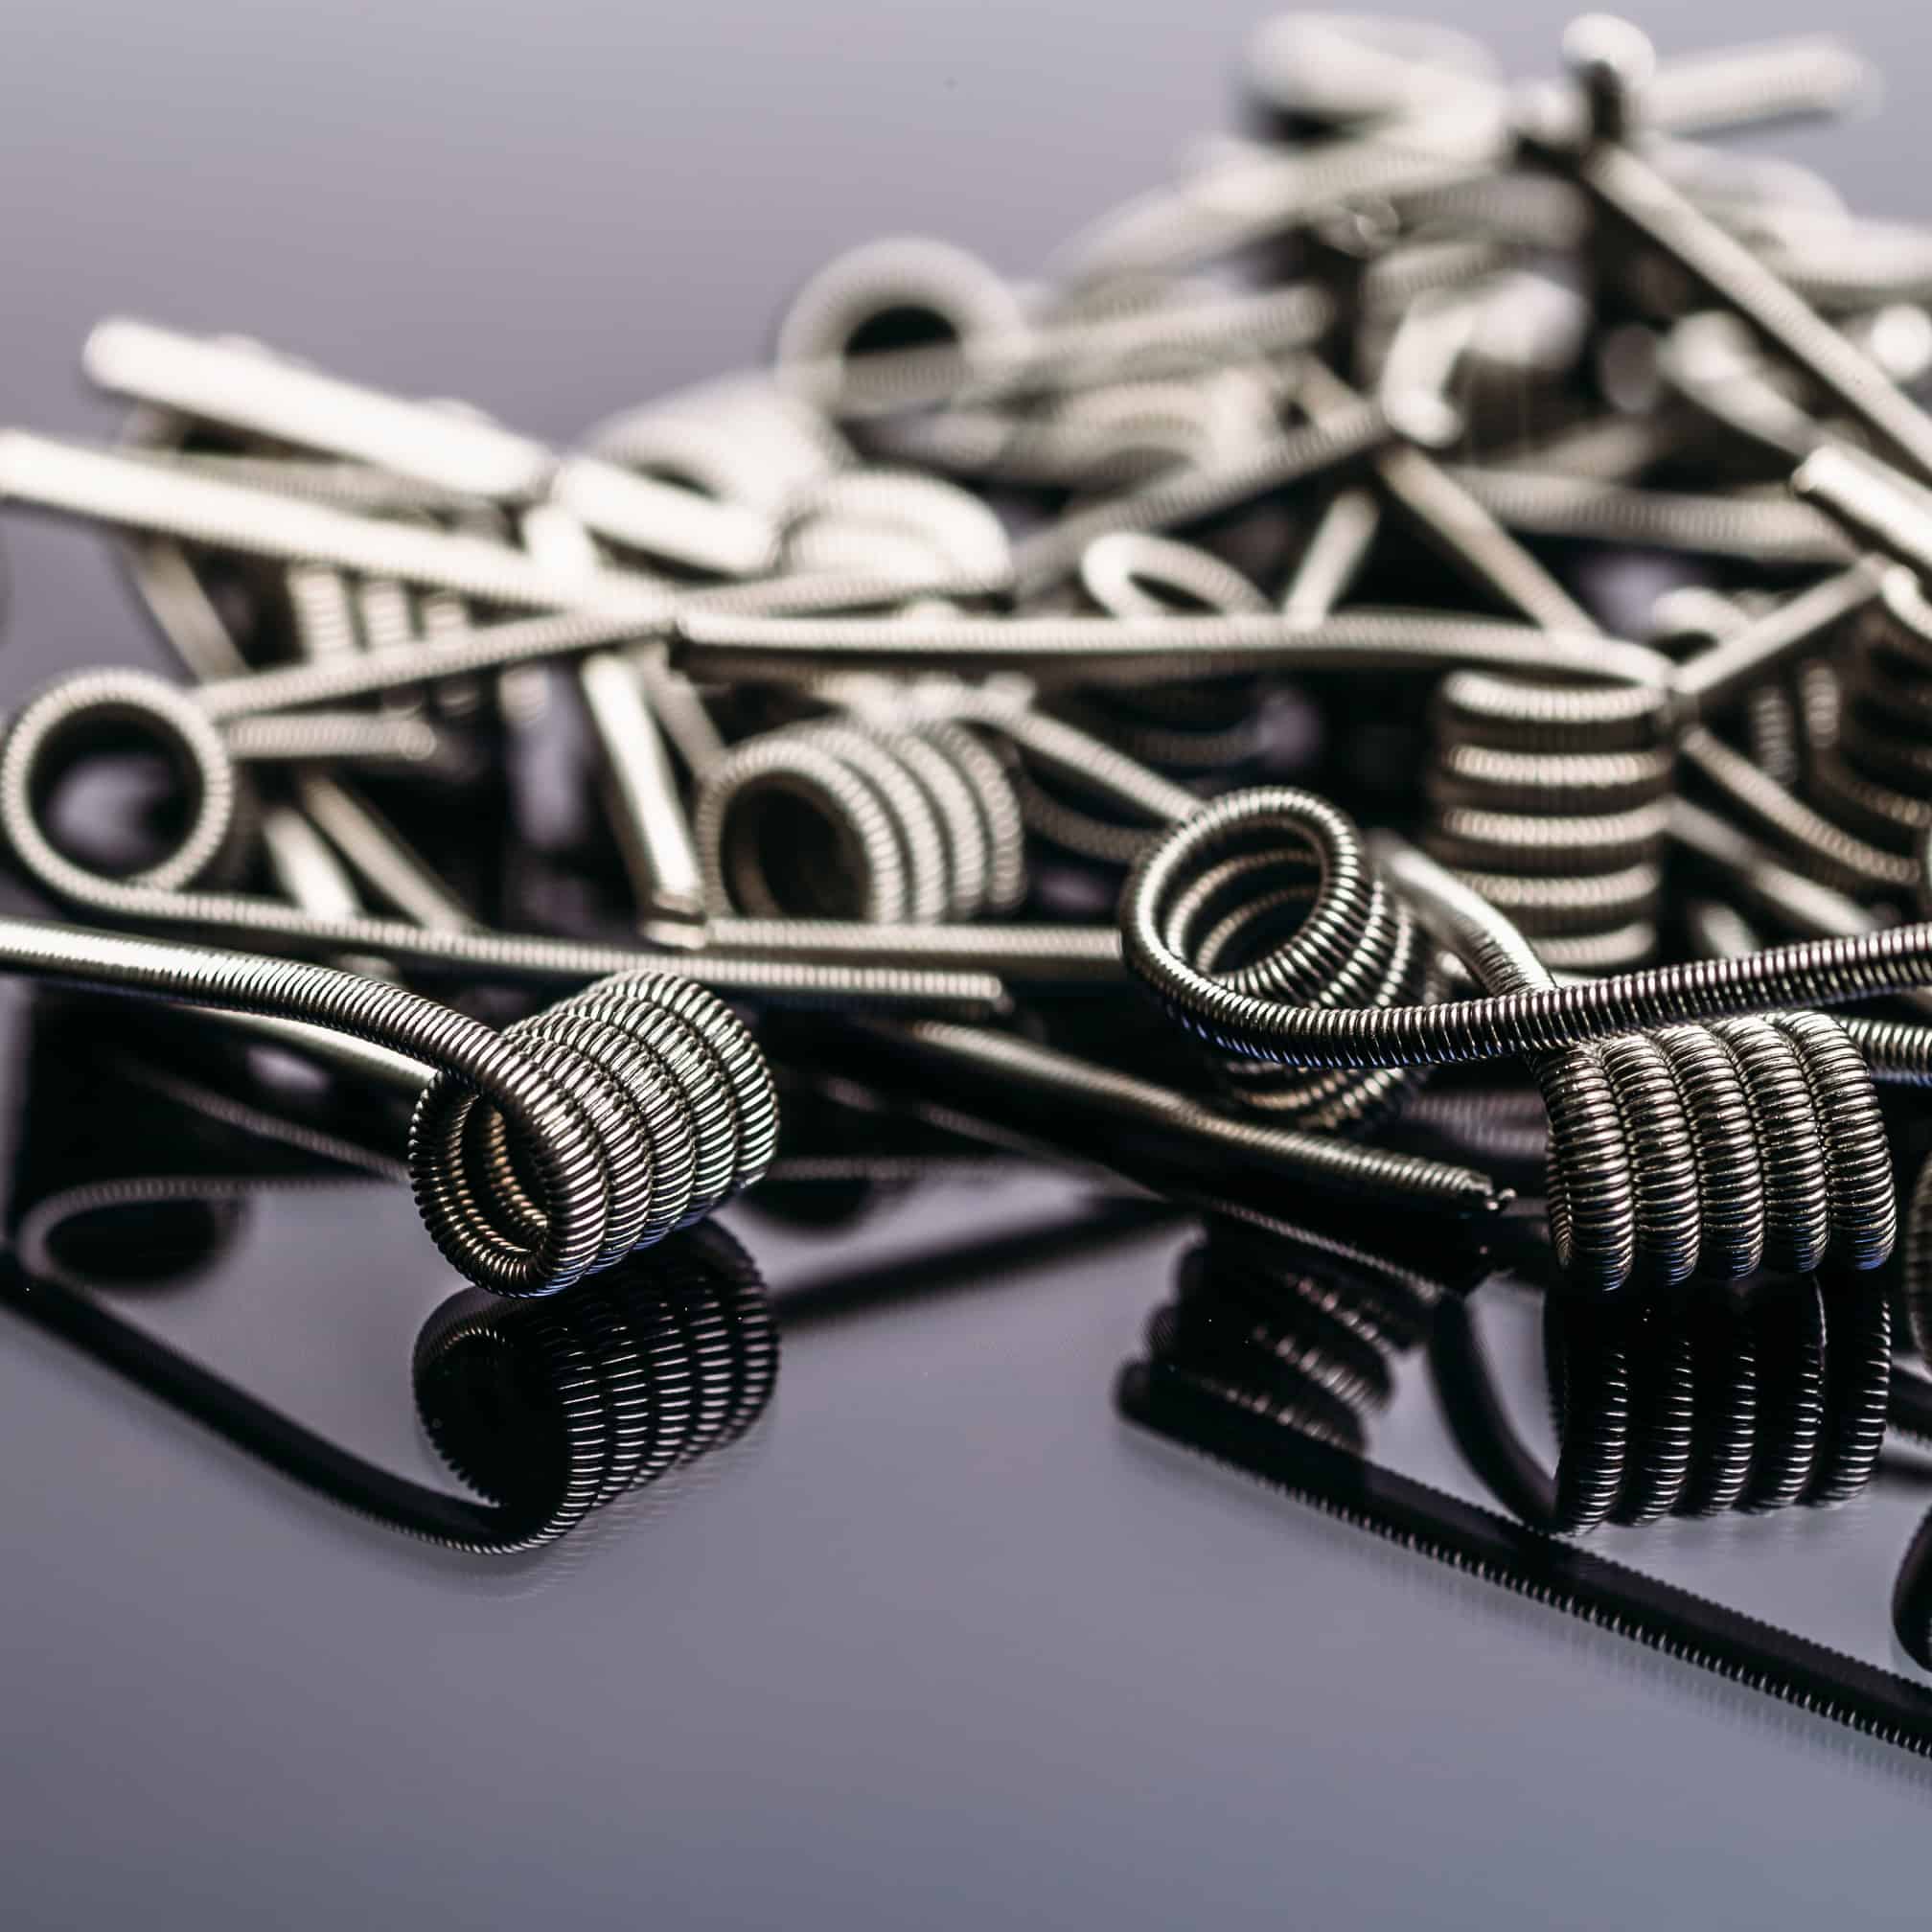
The coil is the heating element inside every vaping device. Wrapped around a cotton or hemp wick, it heats up the e-liquid that releases the rich clouds of vapor you enjoy. These heating elements are typically built out of resistant wire and are looped to resemble a spring. Since each has a positive and negative terminus, it carries the electric current supplied from the battery. Check your coil building guide and you’ll learn how vaporizers may have single or double configurations that affect how the device performs.
Heating Elements Are Loops of Wire Mounted on a Deck
When you open up your rebuildable vaping device, you’ll see a flat surface or base area where the positive and negative terminals are located. This is the deck and it is designed in such a way so that the e-juice does not come into contact with the battery connection. The size and shape of this base can affect how the device performs. Some decks may have posts set up on them with holes where you can insert the ends of the coils. Other decks are postless. In other words, the apparatus includes screws that lead to the side of the deck and recess into the atty deck. You’ll attach the heating elements by securing the ends with the screws.
How to Tell When You Need a Replacement?
Before learning how to make vape coils, you’ll want to identify the signs indicating that the old one is burnt out and needs changing. Oftentimes, the problem is not wearing out. Cleaning up the device thoroughly might make it last you some time longer. Many e-liquids leave behind a sticky film on the heating element that tastes burnt. Or, you might find that the flavors are not rich enough. Try opening up the mod and cleaning the well. If that doesn’t work, you must replace the coil with a new one.
Typically, an average vaper can make the heating element last for at least a couple of weeks. Heavy-duty vapers might want to change it every week while light, occasional cloud-chasers can probably get by a whole month without getting a replacement. Again, this time frame depends on the particular type of e-juice you like and possibly, the specific brand. High-grade e-juices like Dinner Lady typically protect the coil and help it last longer. Additional signs include a gurgling sound that indicates air leakage or lower volumes of clouds. If that happens, you’ll know that the heating element is not working efficiently enough, and you need to change it.
Expect to Need Some Practice to Perfect the Technique
Like seasoned vaping enthusiasts will tell you, understanding how to make vape coils takes some amount of practice with several hits and misses. Although you might just get it right the first time around, many people can’t perfect the technique right away. But, once you learn how it’s done, you’re going to enjoy experimenting with different temperatures, wicks, types of metals, and more.
Equipment Needed for Rebuilding a Heating Loop
The first step of your coil building guide is an understanding of the equipment you’ll need. If you search online, you’ll likely come across complete kits that have all the necessary supplies including a coil master. However, if you would prefer to buy them separately, here’s what to order:
- Resistance wires are easily available. Pick up a roll and you can build multiple heating loops.
- Flush cutters or compact wire cutters that you can use to trim the excess length within a small space.
- Also called coil jigs, coil rods are devices that help you wind the wire into neat, evenly-spaced loops. Of course, you can also use a small 2mm screwdriver or any other slim metallic rod.
- Ceramic tweezers designed to pinch the loops when pulsing and nudge them into place.
- Organic cotton or hemp wick, whichever works best for you.
- A small pair of scissors to trim the cotton and set it in place.
- An ohm reader to identify the right resistance
Investing in a Jig is a Great Idea
Although the jig is not really an essential part of the coil building guide, investing in one is a great idea. This little gadget will help speed up the process and make winding the wire a lot easier. Newbies trying their hand at practicing how to make vape coils can use it to get well-fitted loops that are wrapped perfectly. Most jigs come with a set of four openings so they can be used by both left-handed and right-handed folks. You’ll have a base that accommodates rods with different millimeters along with a cap that winds the wire around the rod. Once you’re done, just slide off the loop, trim the ends, and you’re good to go.
Build Two Identical Heating Loops for Dual Atomizers
Many atomizers have space in the base for two coils. If that’s the case with your device, you’ll build two identical loops and insert them into the spaces. If you’re not quite sure, check the positive and negative posts in the deck. If you see two sets, that is a clear indication that you’ll need two heating elements. You can also check the airflow vents on the exterior of the atomizer. Two vents at opposite ends allow in more air and that is a dual atomizer.
Users wishing to execute a dual build should make sure to use half the resistance for each. For instance, if the total build is 0.3 ohms, you’ll use two 0.6-ohm loops. When experimenting with how to make vape coils, if you decide to take away one of the heating elements, know that the resistance is now 0.3 ohms.
Choosing Between Single and Dual Atomizers
The key difference between single and dual atomizers is the performance. Here’s how:
- If you’re looking for more cloud volumes, you can go for two loops. Like your coil building guide will explain, the principle is simple. Two loops heat up the e-juice more efficiently since they produce more heat. Higher heat is likely to give you thicker, warmer, and voluminous clouds with a stronger flavor and obviously, more enjoyment.
- You’ll want to be prepared to use up more battery power with two heating loops.
- If you’re choosing dual heating loops, expect to use more e-juice since you’ll add two wicks.
- Ramping or heating time is shorter with dual heating elements and the device is ready for use sooner.
- Dual loops give you a stronger throat hit so choose accordingly.
When you’re learning how to build vape coils, take care that both of them are as identical as you can make them. Setting them up in the deck can also be somewhat complex. Take the time to read up or watch videos so you can understand exactly how to position them in the deck.
Choosing the Right Gauge Wires
Most coil building guides for beginners direct you to use basic 26 or 28-gauge wires. If you choose to build a micro coil, you’ll choose a screwdriver or jig that has an inner diameter of 1 to 2mm. However, if you would prefer to build a macro coil, you’ll go for a rod that has an inner diameter of 2.5mm and higher. Why that’s important? It has to do with resistance. If you pick a thicker gauge wire, you’ll have higher resistance, but a thinner wire gives you lower ohm resistance. Similarly, bigger diameters give you higher resistance and vice versa.
Just so you know, there’s a fundamental difference between wire gauges and diameters. Wire gauge is expressed in a numerical value ranging from a maximum of 32 to a minimum of 22. As the wire gauge number increases, the diameter gets smaller. So, if you’re buying a 28-gauge wire, it is likely to be thinner than a 26-gauge wire.
You Can Use Wires Made with Different Materials
Once you hone your skills with vaping and you’re ready to try advanced versions, try coils that support higher temperatures. For instance, when figuring out how to make vape coils, you’ll come across wires made with Kanthal, Titanium, Nickel, or Stainless Steel. If you’re not quite sure about the kind of metal the device takes, check the settings in your Temperature Control (TC) mod. Look for indications like TC-Ni standing for Nickel, TC (Ni, Ti) for Nickel or Titanium, or TC-Ti for Titanium. Some loops are also made with Nickel-Chrome metals.
How Will Different Metals Affect Your Vaping Experience?
That’s probably your next question. The kind of wire you choose affects the temperatures you can get and the ultimate vaping experience.
Kanthal
Kanthal wire is made with ferritic iron-chromium-aluminum alloy that has a low probability of oxidation. This metal is easy to mold and perfect for new users learning how to make vape coils. At the same time, you won’t have to worry about the loops holding their integrity when you trying to fit in the cotton wick. Go ahead and use kanthal with all kinds of vaping devices ranging from straight wattage modes to drip-tips. Coil building guides recommend this metal since the wires are easy to find and economical.
Titanium (Ti)
Titanium wires are made purely with Titanium and best suited for Temperature Control mode. Vaping elements made with this metal are great because they heat up quickly and you won’t have to worry about any adverse or allergic reactions. However, you must take care not to dry burn the loop since that can cause oxidizing and ruin it. That’s not all.
Experienced cloud chasers who know how to make vape coils talk about the risk of releasing a toxic compound, titanium dioxide at high temperatures. Some stores also warn about safety hazards like the titanium igniting since it is hard to extinguish. Delay experimenting with this metal until you’ve gained enough experience and feel confident of avoiding overheating.
Nickel (Ni)
Similar to Titanium, nickel wires are also efficient because they heat up quickly. However, dry burning also causes oxidizing. Besides, you risk getting an allergic reaction to the metal since the nickel used is in pure form. Further, you can use these wires only with Temperature Control and not wattage modes. The metal is soft and pliable so constructing the heating element is easy for someone who is learning how to make vape coils. But, this feature can also be a downside since the wire can bend out of shape when you’re trying to wind into loops.
Stainless Steel (SS)
Stainless Steel is the most-preferred wire since it takes away the downsides of Titanium and Nickel and gives you excellent performance. Steel heats up almost instantly and without any possibility of oxidizing because of dry burn. Nor will you have to worry about any allergic reactions since the nickel content is typically 10% or lower.
Any kind of device, including power and temperature control modes can safely work with an SS loop. Even so, coil building guides advise you not to do dry runs when building and testing. There’s always the risk of releasing unwanted and unknown chemical compounds.
Nickel Chrome
As the name suggests, nickel-chrome is made with a blend of nickel and chromium. Sometimes, other metals like iron are also added to improve the quality of the wires. Nichrome, as it is also called, is available in different grades. For instance, you could buy ni80 that contains 80% nickel and 20% chrome.
These wires are a great choice since they have low resistance and heat up quickly. However, this feature can also be a downside because you’ll need to be extra careful about the possibility of dry heating them. Also, use the pulse feature to heat the coils gradually or they can burn open. Although, this metal is also used in dental fillings and safe to use, avoid it if you’re allergic to nickel.
What Should be Your First Choice?
If you’re experimenting with vaping mods that allow you to control the temperature or wattage, you should go for stainless steel or Titanium wires. SS is made with a combination of chromium, carbon, and nickel. The wire roll is cheaper than Titanium, more easily available, and gives you great performance. Vapers preferring to use the power mode should opt for kanthal, nichrome, or stainless steel. However, if you suspect you might be allergic to nickel, go with kanthal and be safe.
Ultimately, when choosing the right vaping wire, you can play around with different metals and gauges that can help you customize the experience. You’ll get control over the ramp time or the time taken by the wire to heat up. Since the pleasure you get from e-juices and flavors depends solely on the efficiency of the heating capacity, that’s an important factor.
Other variables like the number of wraps, diameter, and resistance can also influence your enjoyment. When you’re learning how to make vape coils and you find something that works perfectly, make a note of it for the future. Since you’re starting to experience all the benefits of vaping above smoking, making the switch will be easier, especially when you’re learning to build the equipment you need.
Working Out the Size of the Heating Loop
Before starting work on your loop, take the time to examine the deck. You’ll look for ports that indicate whether it takes single or twin heating elements. Next, you’ll check the space in the deck and ensure that the loop does not touch the top cap and cause a short. Typically, RDAs take 3mm coils though, specific devices may accommodate larger ones. Also, check for the direction in which the ends of the loop should point. If they both point in the same direction, wrap and trim the ends of the wire accordingly. Some devices have postless decks so you’ll want to find out exactly how to make vape coils that match.
Once you have the elements neatly positioned, turn the device on for a couple of seconds to check that it is heating up properly. You’re now ready to insert the wick.
A Few Precautions to Take
When studying your coil building guide, you’ll come across a few important tips. For starters, always cut a little extra length once you’ve finished winding the wire. Trim off the excess only after fitting the loop into place. Always remember to take out the batteries just in case you fire up the mod by accident. Before starting the build, check that the wire length is at least 10 inches so you don’t run out before you get the required number of wraps.
Experimenting with building coils and varying the entire vaping experience can be an interesting hobby. Take the time to perfect the technique and enjoy your newfound passion!